- Get link
- X
- Other Apps
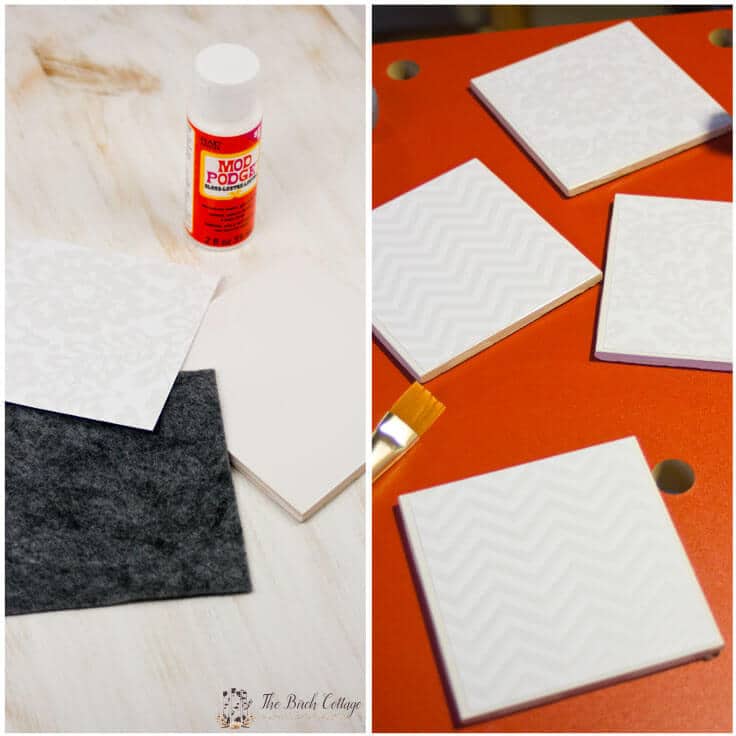
All you need are 4x4 ceramic tiles I buy mine at Lowes for 016 each. After those have dried completely apply decoupage glue over the top of entire picturetile.
 Diy Mod Podge Tile Coaster Tutorial Diy Mod Podge Diy Coasters Mod Podge Crafts
Lay the tattoo paper photo side down on top of your tile.

Diy tile coasters with pictures. Cut felt into 4x4 squares. In a standard board game there are 100 letter tiles. If one cannot think about much of prints on the tile coasters go for stripes or polka dots.
Consider making the words into a theme especially if these coasters are intended for gifts. And heres a gratuitous photo of my DIY ceramic tile craft coaster with one of my favorite Denby teacups. If youre making photos out of tile or any type of harder material some sort of backing or protective feet is a great touch.
This is a fun and easy project for any skill level. Coat the front of the tile with a thin layer of Mod Podge then center and press a picture to the tile. You can edit the photos beforehand to add visual interest or add text if its to commemorate a special event.
1 tile of each. Oct 23 2018 - Learn how easy it is to make homemade DIY photo coasters on ceramic tiles. 016 ceramic tiles sharpie markers and rubbing alcohol.
This tutorial takes the popular tile Mod Podge idea to an extra level with photos printed on tissue paper and felt with adhesive backing. Cut your images so they are in squares the size of your coasters. Using the paint brush apply the decoupage glue to the back of the photo and affix to tile.
Heres one made by reader Shelbie thanks for sending in the pic Shelbie. Let dry for 20 minutes then coat the top of the picture with a light coating of Mod Podge. With the Mexican tiles one can try a variety of designs and print on it.
Print photos to 44 size. Cut scrapbook paper book pages wrapping paper whatever youre using to decorate your tile coasters into 4 x 4 squares. They are easy as well as pretty to try.
Printable instructions are at the end of this post too. Peel away the clear plastic layer covering your photo exposing the adhesive. I trimmed mine down to about 4x4in Just under 3875 x 3875 You dont want your photos to go to the edge of the tile- you want them to be about 14 of an inch smaller than the tile.
Wipe down your tile and make sure they are clean and dry. Your first step in creating DIY photo coasters is going to be to paint a thin layer of Mod Podge directly onto the back of your photo edge to edge and stick the photo to the tile. Place scrapbook paper on the center of the tile and smooth in place using your fingers.
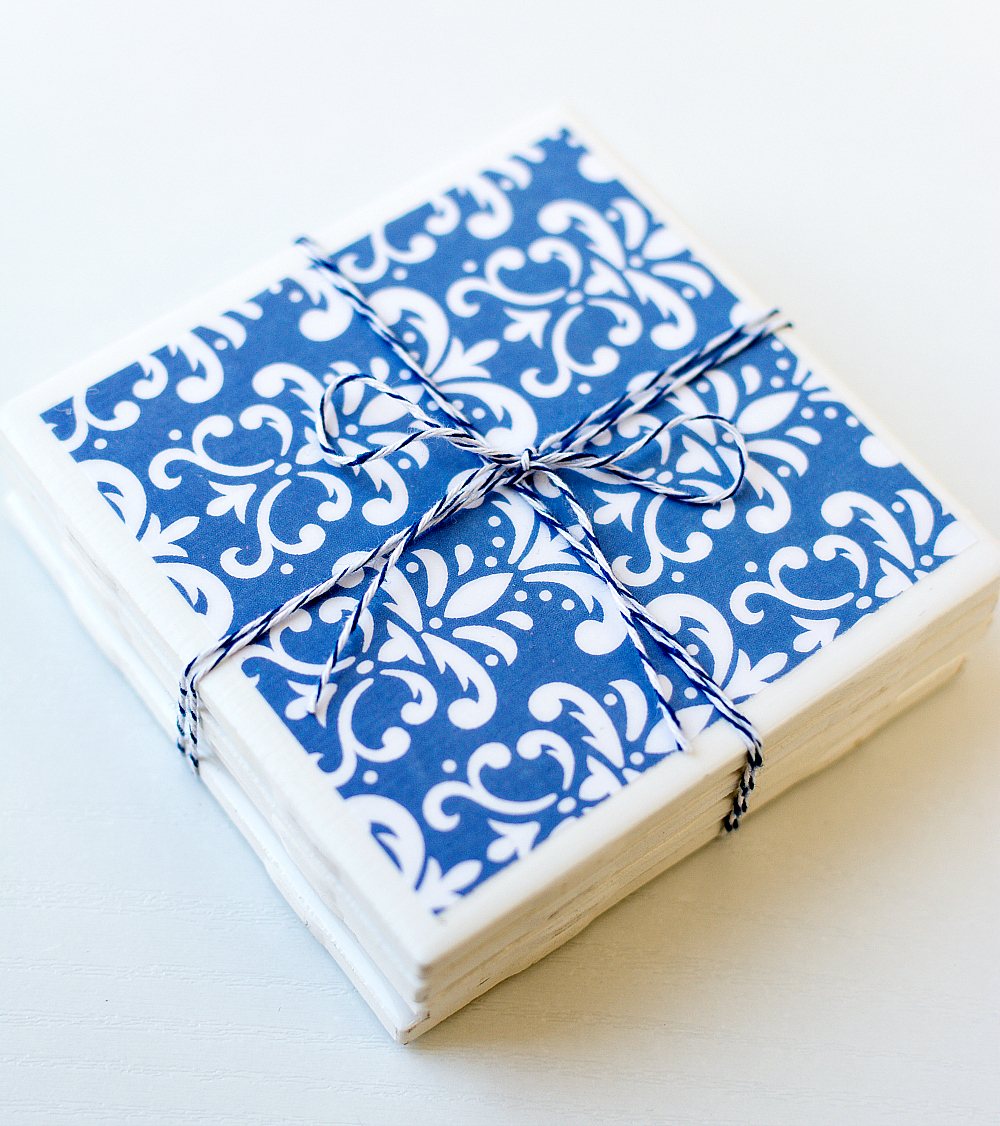
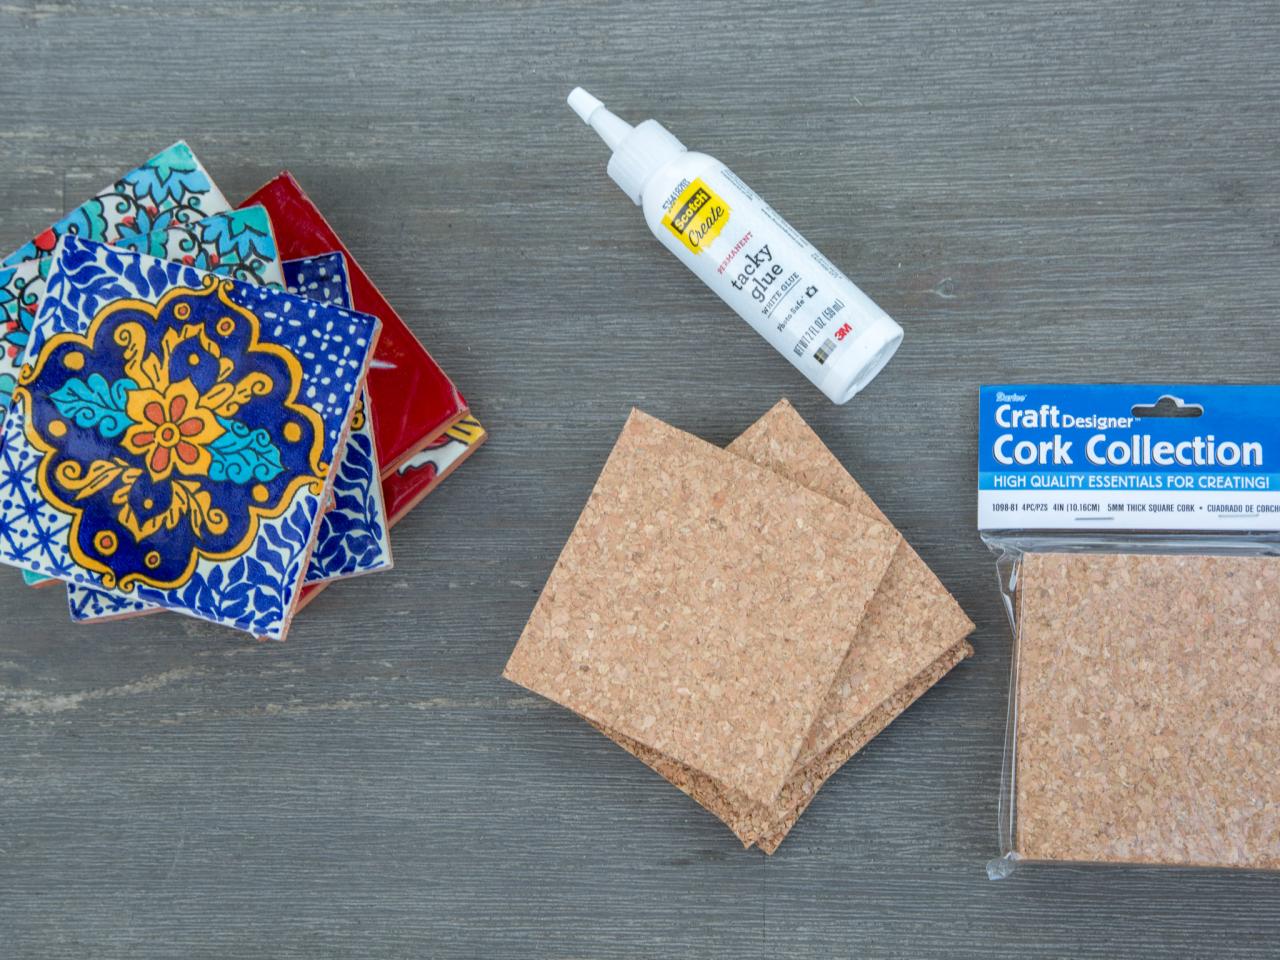
They will love it too. White tile coasters look classic and decent. Made with a few basic supplies eg standard tiles cork board sealer glue etc and a little bit of work you can create a set of tile coasters that will fit the tastes theme andor décor of any lucky recipient.
This tutorial will show you how to make DIY photo coasters in minutes. So easy kids can do it. Print off or cut out the photo that you want to use and trim the edges to fit the ceramic tiles.
As youll see none of these steps is hard or complicated but you need the patience to let things dry in between coats. Food such as bake dish fish etc Automotive such as Ford Audi fuel etc Computers such as tech disk hack etc Non-physical words such as love care dear etcStep 2 Calculate the letter amounts in Scrabble. Some theme ideas could include.
You only need three things. Tile Photo Coasters. Purchase tiles at Lowes or Home Depot.
Heres a beautiful tile. Trim your photos down for your DIY photo coasters Since it wont take too long to wait for the painted edges to dry you should trim your photographs down. 1 Brush a layer of homemade mod podge on your ceramic tile.
If you want your coasters to look uniform consider making your photos black-and-white or sepia before printing them out. 2 Apply Mod Podge to the back of the photo using the sponge applicator and carefully place it on the ceramic tile. Here are the steps to make these DIY tile coasters using photos.
Decorating tiles with photographs is a simple craft to attempt as well. Make Fun and Easy Tile Coasters With Sharpies. How to Make Photo Tile Coasters.
Apply Mod Podge to the ceramic tile using a small paintbrush or sponge brush. Step 1 Brainstorm on your four letter words. Some more DIY Tile Coasters Ideas.
If needed trim the photo to fit your desired tile size. Continue with the rest of your photos. If youre wondering how to make coasters with photos you can use the exact same method.
J K Q X and Z 2 tiles. You are basically using the Mod Podge as a glue.
 Diy Tile Coasters The Southern Holiday Home
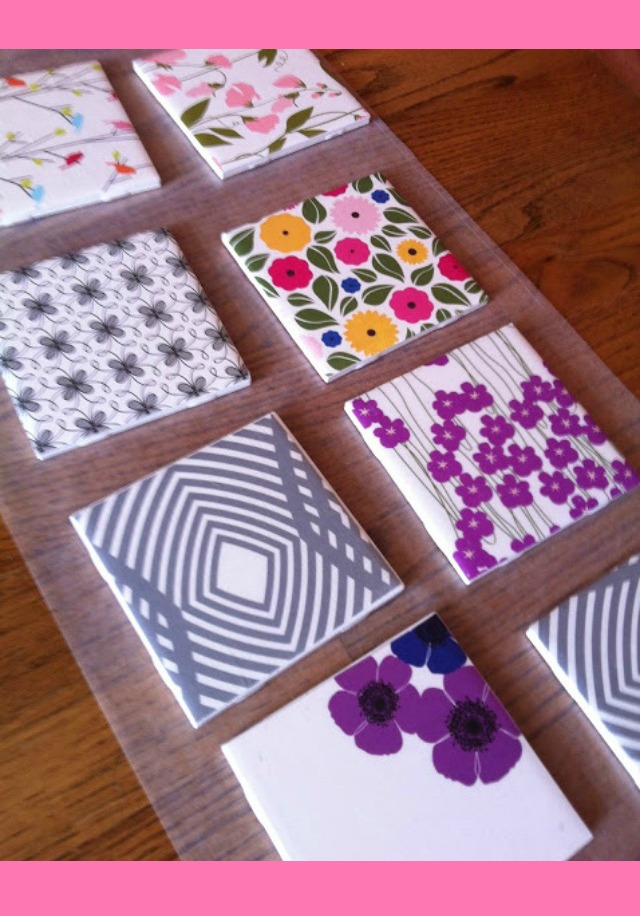 Diy Night Tile Coasters With Scrapbook Paper Design Improvised
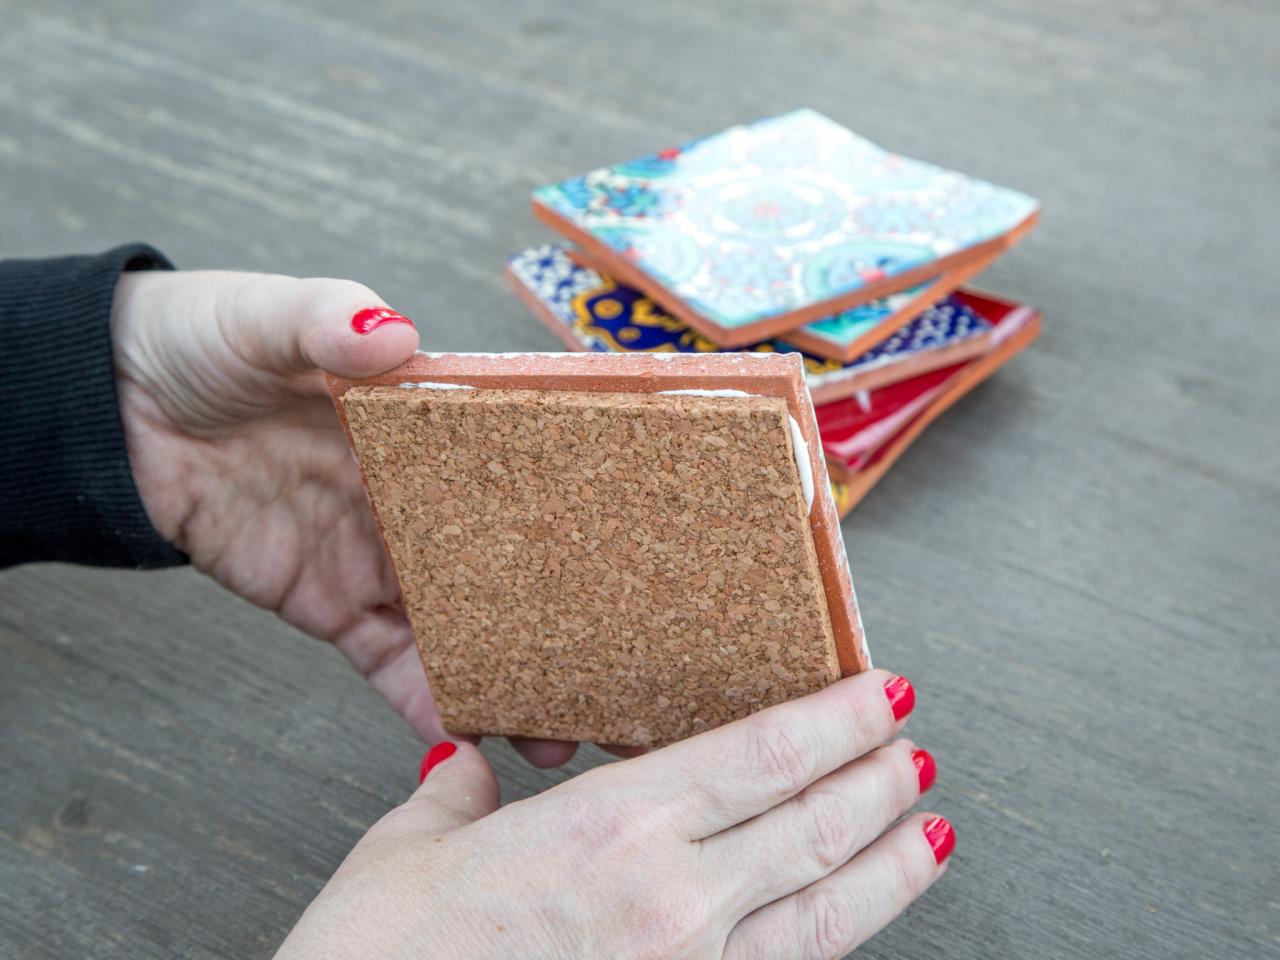 Easy Diy Tile Coasters Hgtv
Diy Tile Photo Coasters Popsugar Smart Living

 Easy Diy Tile Coasters Hgtv
 Tile Coaster Tutorial The Cottage Mama
 How To Make A Ceramic Tile Coaster Set Youtube
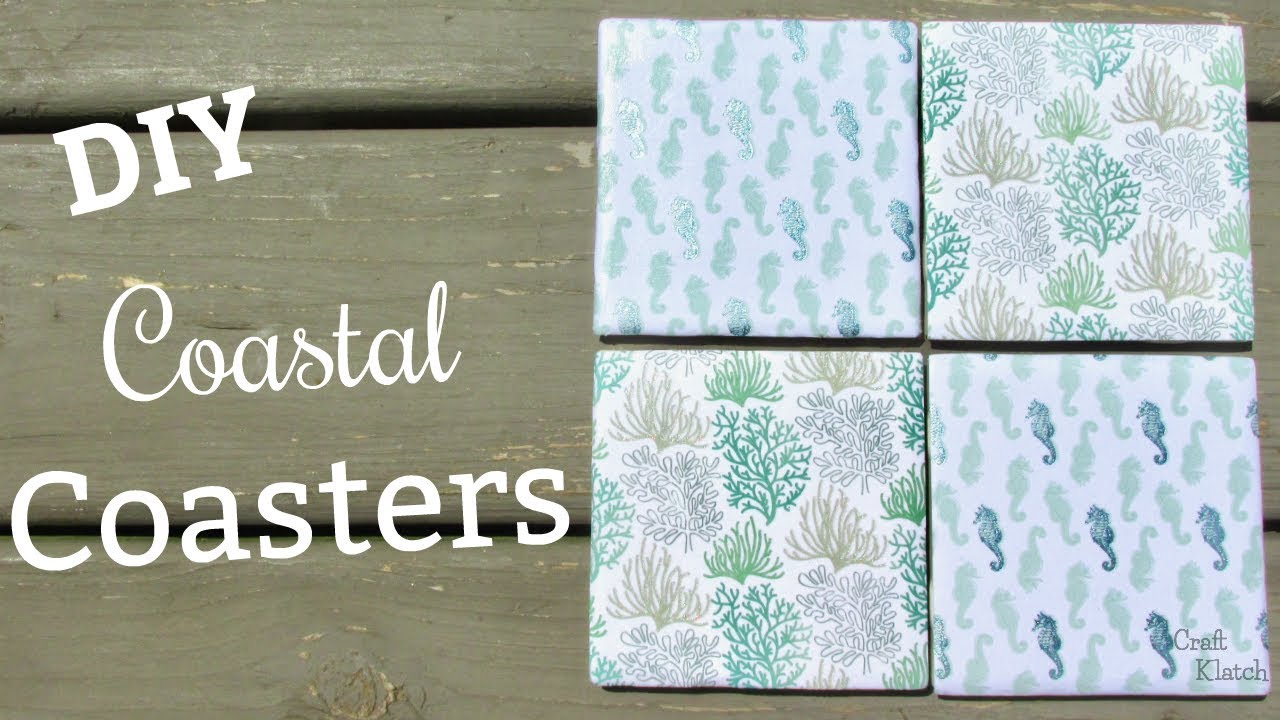 Coastal Scrapbook Paper Tile Coasters Diy Another Coaster Friday Craft Klatch Youtube
 Quick And Easy To Make Mermaid Tile Coasters Mermaid Themed Craft
 Diy Drink Coasters From Tiles Paper
 How To Make Coasters From Ceramic Tiles Easy Diy Tutorial
 How To Make Coasters Warning Read This Before You Make Ceramic Tile Coasters Coaster Crafts Tile Crafts How To Make Coasters
Comments
Post a Comment